Banana Pudding – An Iconic Summertime Dessert
Last Updated on February 18, 2026 by Barbara
Banana Pudding is a dessert that takes me right back to my childhood. My mom, being the true Southern cook that she was, always made her pudding from scratch and to this day, I believe that if it’s not homemade, it’s not real Southern banana pudding. I have been making my mom’s version for decades and the rich, creamy flavor of this decadent treat never gets old. Each bite is a perfect blend of silky custard-like pudding, sweet bananas and the irresistible crunch of Nilla Wafers. Making the pudding from scratch takes just a few extra steps, but believe me, it is absolutely worth it.
This old fashioned banana pudding recipe is great for holidays, summertime gatherings, picnics or just because. This recipe will be the one you save and use for many years to come. Stay here with me as I walk you through easy step-by-step instructions on how to make this exquisite dessert.
How to Select the Best Bananas
- Choose ripe bananas: Look for bright yellow peels with a few small brown specks. They are sweet, flavorful and perfect for banana pudding.
- Avoid underripe fruit: Green bananas are firm, less sweet and harder to peel.
- Skip overripe bananas: If they smell fermented or feel mushy, they will make the pudding too soft.
- Check the peel: It should be smooth, free of bruises, cracks or splits, with the stem still intact.
- Do the smell test: Ripe bananas have a pleasant, sweet aroma not sour or alcoholic.
These quick tips will help you create the best creamy banana pudding every time.
Ingredients
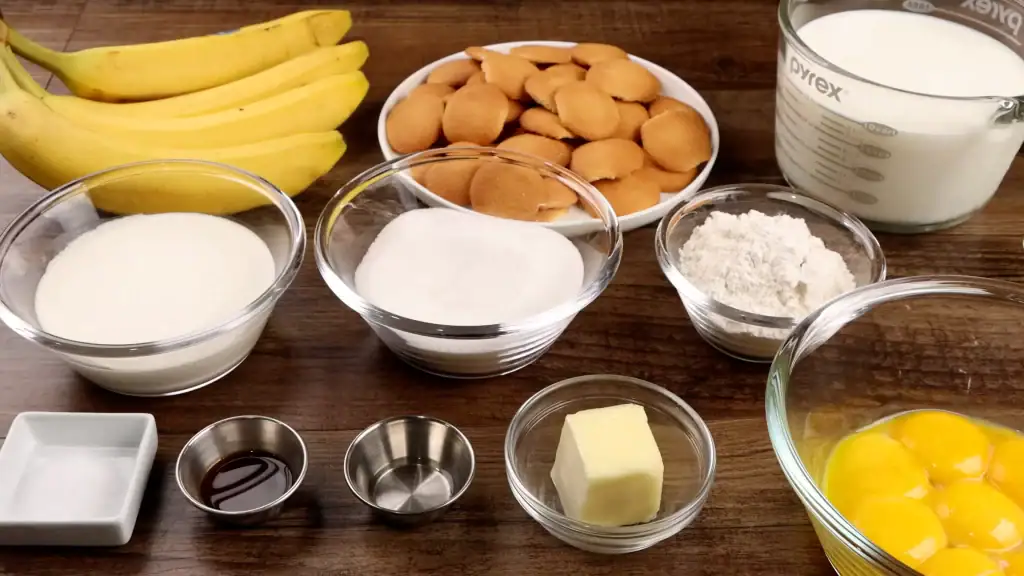
- Bananas – The star of the show. Bananas are sweet and add needed texture to the pudding.
- Nilla Wafers – The other star of the show. Nilla Wafers also add texture to the pudding.
- All-Purpose Flour – The flour serves as the thickening agent that will give your pudding its desired texture.
- Milk – The milk is the base of the pudding.
- Butter – Enhances the richness and adds a subtle buttery flavor to the custard.
- Heavy Cream – Heavy cream is used to make the whipped cream. The whipped cream makes the pudding creamy and delicious.
- Egg Yolks – The egg yolks act as a binder and thickener for the custard, create a silky texture.
- Sugar – The sugar sweetens the pudding.
- Vanilla Extract – The vanilla extract adds a rich flavor to the pudding.
- Almond Extract – The almond extract adds a nutty flavor to the pudding.
- Salt – The salt balances the sweetness.
Substitutions
Nilla Wafers:
If you don’t have Nilla Wafers, try shortbread cookies. They add a different crunch and flavor and layers beautifully with the pudding and bananas.
All-Purpose Flour:
For a lighter option, substitute with cornstarch (use 1 tablespoon cornstarch for every 2 tablespoons flour) or arrowroot powder. Both create a smooth, silky pudding texture.
Milk:
You can replace regular milk with evaporated milk for extra richness or plant-based milk (like almond, oat, or coconut milk) for a dairy-free version that still delivers great flavor.
What You Will Need
Watch Me Make the Best Banana Pudding! (Video Tutorial)
How to Make Homemade Banana Pudding
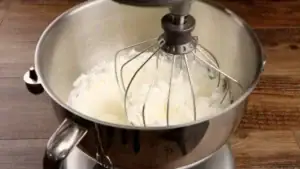
Step 1: Whip the Heavy Cream
Using a stand mixer (or hand mixer) with a chilled bowl, whip the heavy cream until it forms stiff peaks. After mixing, set the bowl aside for later.

Step 2: Prepare the Custard-Like Pudding
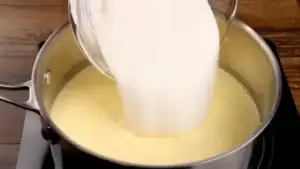
In a pot over medium-low heat, combine the milk and egg yolks. Whisk them until they are well combined.

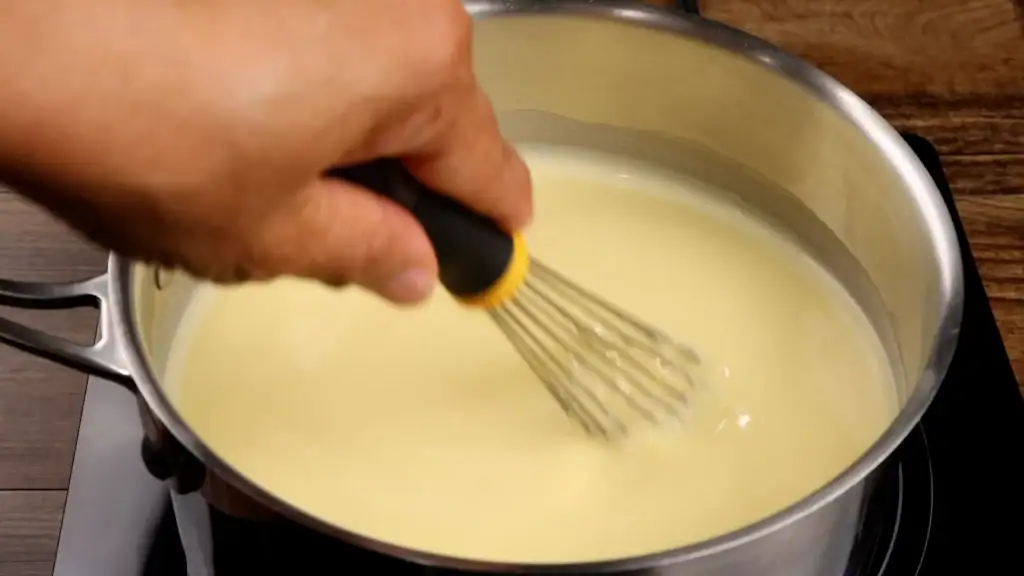
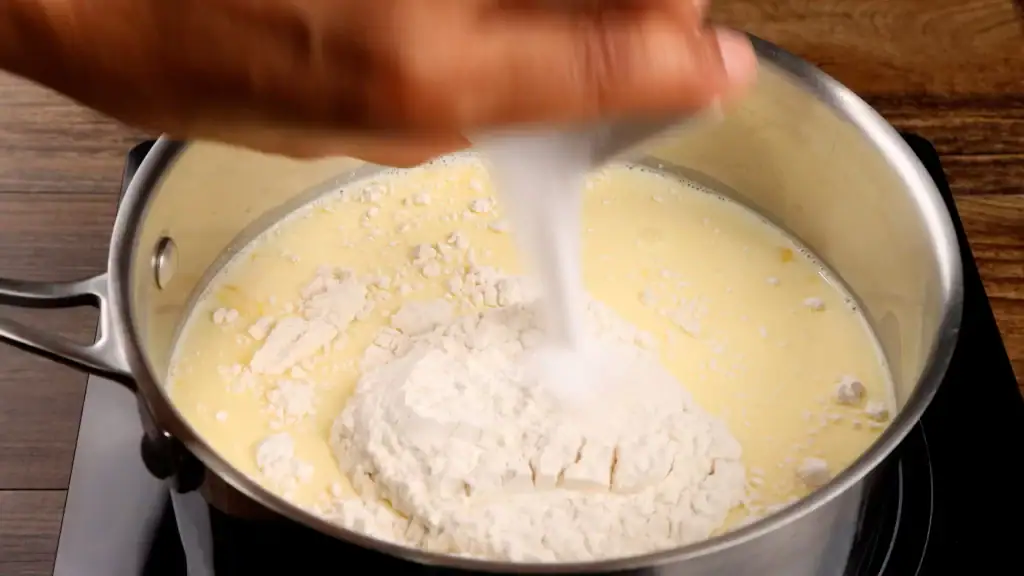
Gradually add the sugar, salt and flour to the mixture. Keep whisking until they are thoroughly combined. Continue to warm the mixture, stirring often until it thickens and reaches a custard-like consistency. This process ensures a smooth, creamy pudding texture.

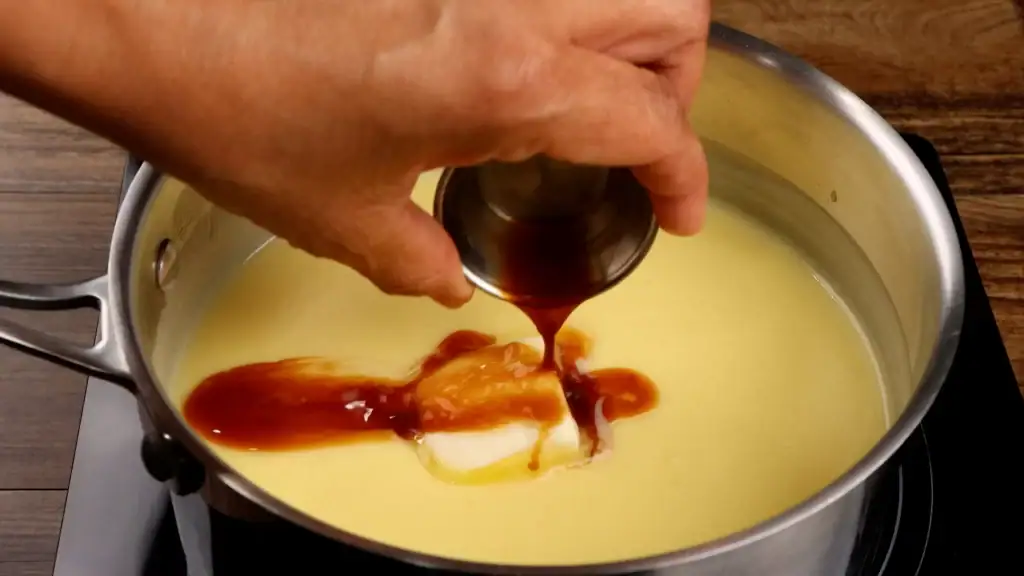
Once it’s reached the desired consistency, add the vanilla extract, almond extract, and butter. Stir until the butter melts and the flavors meld.
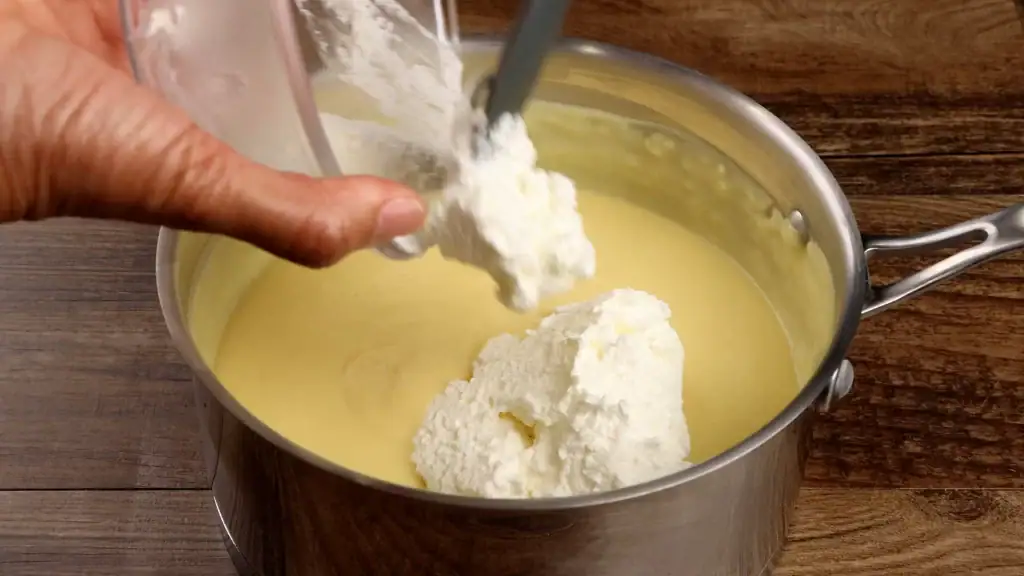
Allow the pudding to cool for about 5 minutes. Afterward, gently fold in the prepared whipped cream. This addition enhances the pudding’s silkiness and lightness.
Step 3: Layering the Banana Pudding
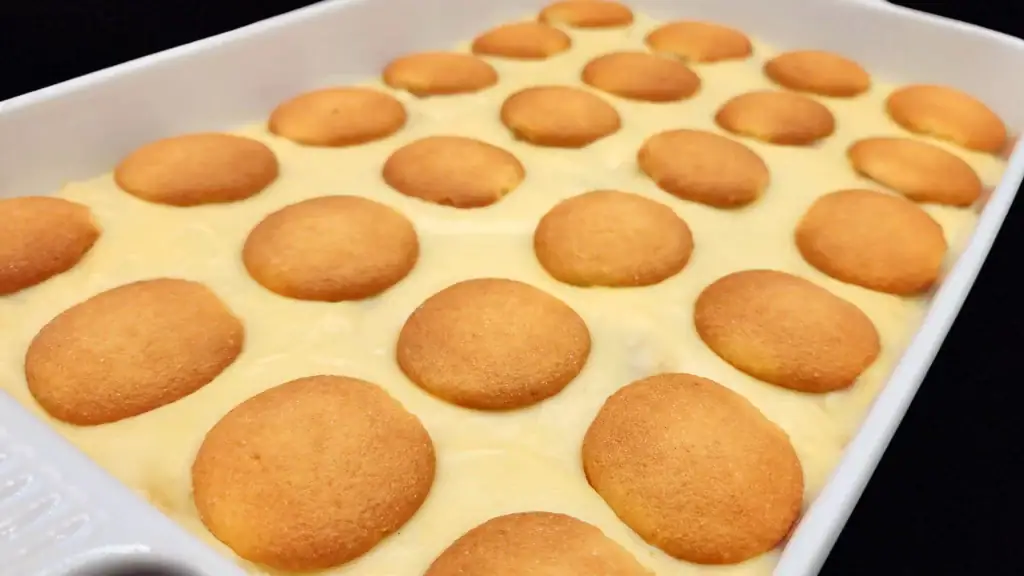
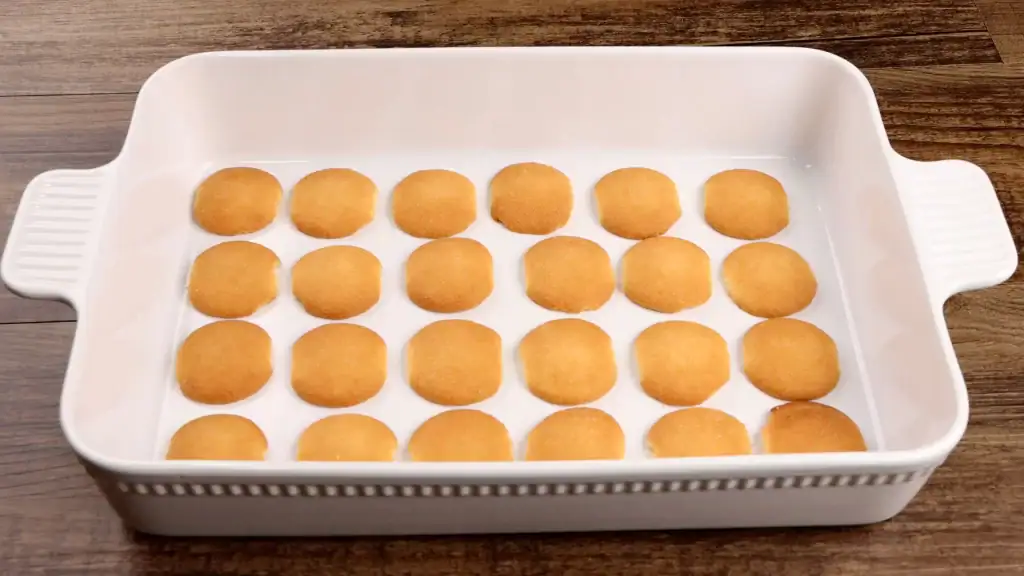
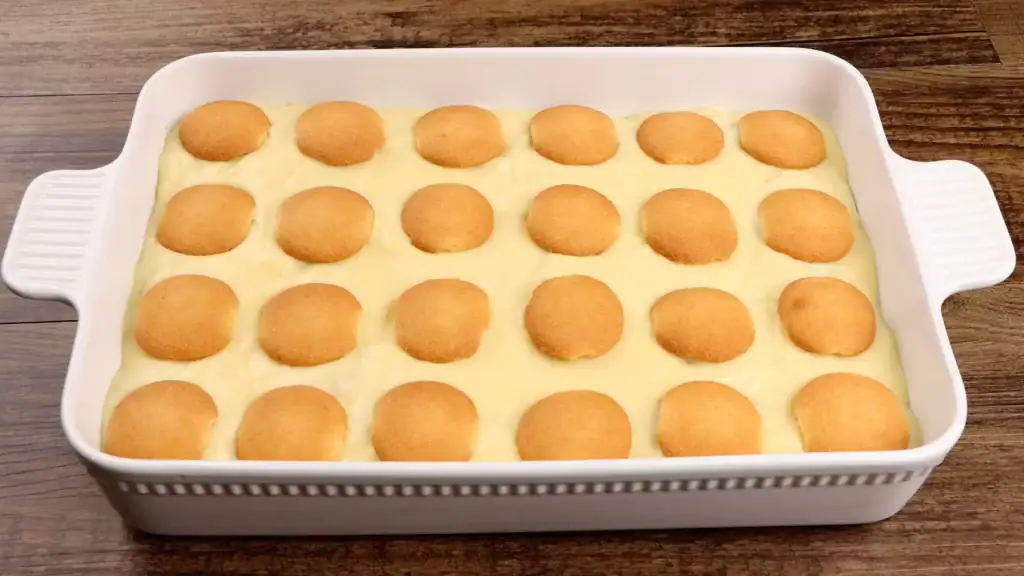
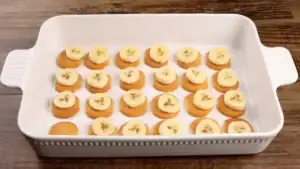
In a suitable baking dish, start by creating a layer of Nilla Wafer cookies at the base.
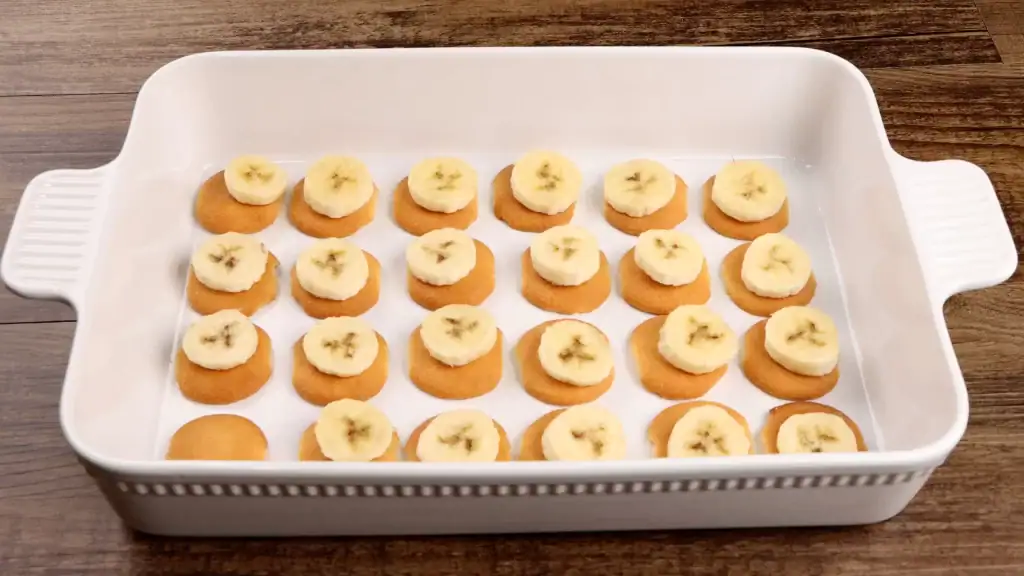
Slice the bananas and arrange them over the cookie layer, creating a delightful fruity contrast.
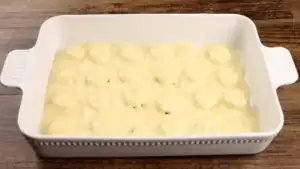
Spoon a generous layer of the prepared pudding mixture over the bananas.
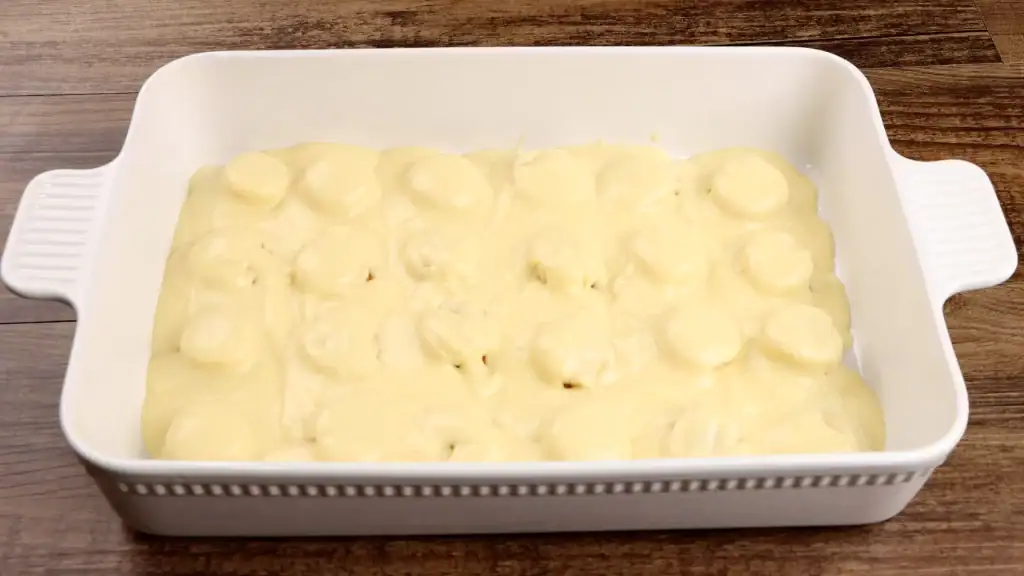
Repeat these layers, alternating between cookies, bananas, and pudding until the dish is filled.
Step 4: Chill and Serve
Cover the pudding dish and refrigerate it, allowing the flavors to meld and the dessert to set. Chilling for a few hours or overnight intensifies the flavors and textures.
Serving Suggestions
Enjoy this classic banana pudding as is or top with whipped cream.
For more soul food desserts try my marry me peach cobbler, sweet potato pie or 7Up pound cake.
Feel free to sprinkle crushed cookies on top for an added crunch or add a drizzle of caramel for an extra indulgent touch when serving.
How to Store Banana Pudding
Banana pudding in all its decadence is a dessert that is best when prepared the day of or the night before. Banana pudding should be stored in an airtight container in the refrigerator. It is best enjoyed within 2 days of making it, as the bananas may start to brown and become mushy after that.
FAQ
Yes, It is best to prepare banana pudding a few hours ahead of time and place it in the fridge. You can prepare it the night before, cover tightly, and refrigerate. The flavors meld beautifully overnight.
To keep sliced bananas from turning brown, add a small amount of lemon juice before layering. The natural acidity slows oxidation and keeps them looking fresh.
Yes, instant pudding is often used for banana pudding but homemade pudding creates a richer, silkier texture and has deeper flavor.
Try these other Great Recipes
- Banana Cream Pie – If you love bananas then this pie is just for you. Creamy and decadent in every bite!
- Southern Peach Cobbler – Sweet, juicy and delicious. Goes great with ice cream on a hot summer day.
- The Ultimate Chocolate Cake – This elegant cake is perfect for special occasions or just because.
- Lemon Ice Box Pie – Full of lemon flavor, creamy and delicious.
- Old Fashioned Tea Cakes – These cookies have a nutty taste that is simply irresistible.
Soul Food Cooking 101 — Classic Soul Food Recipes: Preserving the Legacy of Authentic Southern Cooking.
Join the SFC Family and Sign up for updates and recipes sent directly to your inbox!

Banana Pudding: An Iconic Summer Recipe
Ingredients
- 4 Bananas
- 1 box Nilla Wafers
- 2/3 Cup All-Purpose Flour
- 4 Cups Milk
- 4 Tbsps Butter
- 1½ Cups Heavy Cream
- 8 Egg Yolks
- 1 Cup Sugar
- 2 tsps Vanilla Extract
- 1½ tsps Almond Extract
- 1 tsp Salt
Method
- Using a mixer with a chilled bowl, whip the heavy cream until it forms stiff peaks. Set aside this luscious whipped cream for later.
- In a pot over medium-low heat, combine the milk and egg yolks. Whisk them together until well combined.

- Gradually add the sugar, salt, and flour to the mixture. Keep whisking until thoroughly combined. Continue to cook the mixture, stirring often until it thickens and reaches a custard-like consistency. This process ensures a smooth, creamy pudding texture.
- Once it’s reached the desired consistency, add the vanilla extract, almond extract, and butter. Stir until the butter melts and the flavors meld.

- Allow the pudding to cool for about 5 minutes. Afterward, gently fold in the prepared whipped cream. This addition enhances the pudding’s silkiness and lightness.

- In a suitable baking dish, start by creating a layer of Nilla Wafer cookies at the base.

- Slice the bananas and arrange them over the cookie layer, creating a delightful fruity contrast
- Spoon a generous layer of the prepared pudding mixture atop the bananas, creating a harmonious trinity of flavors.
- Repeat these layers, alternating between cookies, bananas, and pudding until the dish is filled, culminating in a beautiful dessert canvas. Cover the pudding dish and refrigerate it, allowing the flavors to meld and the dessert to set.


