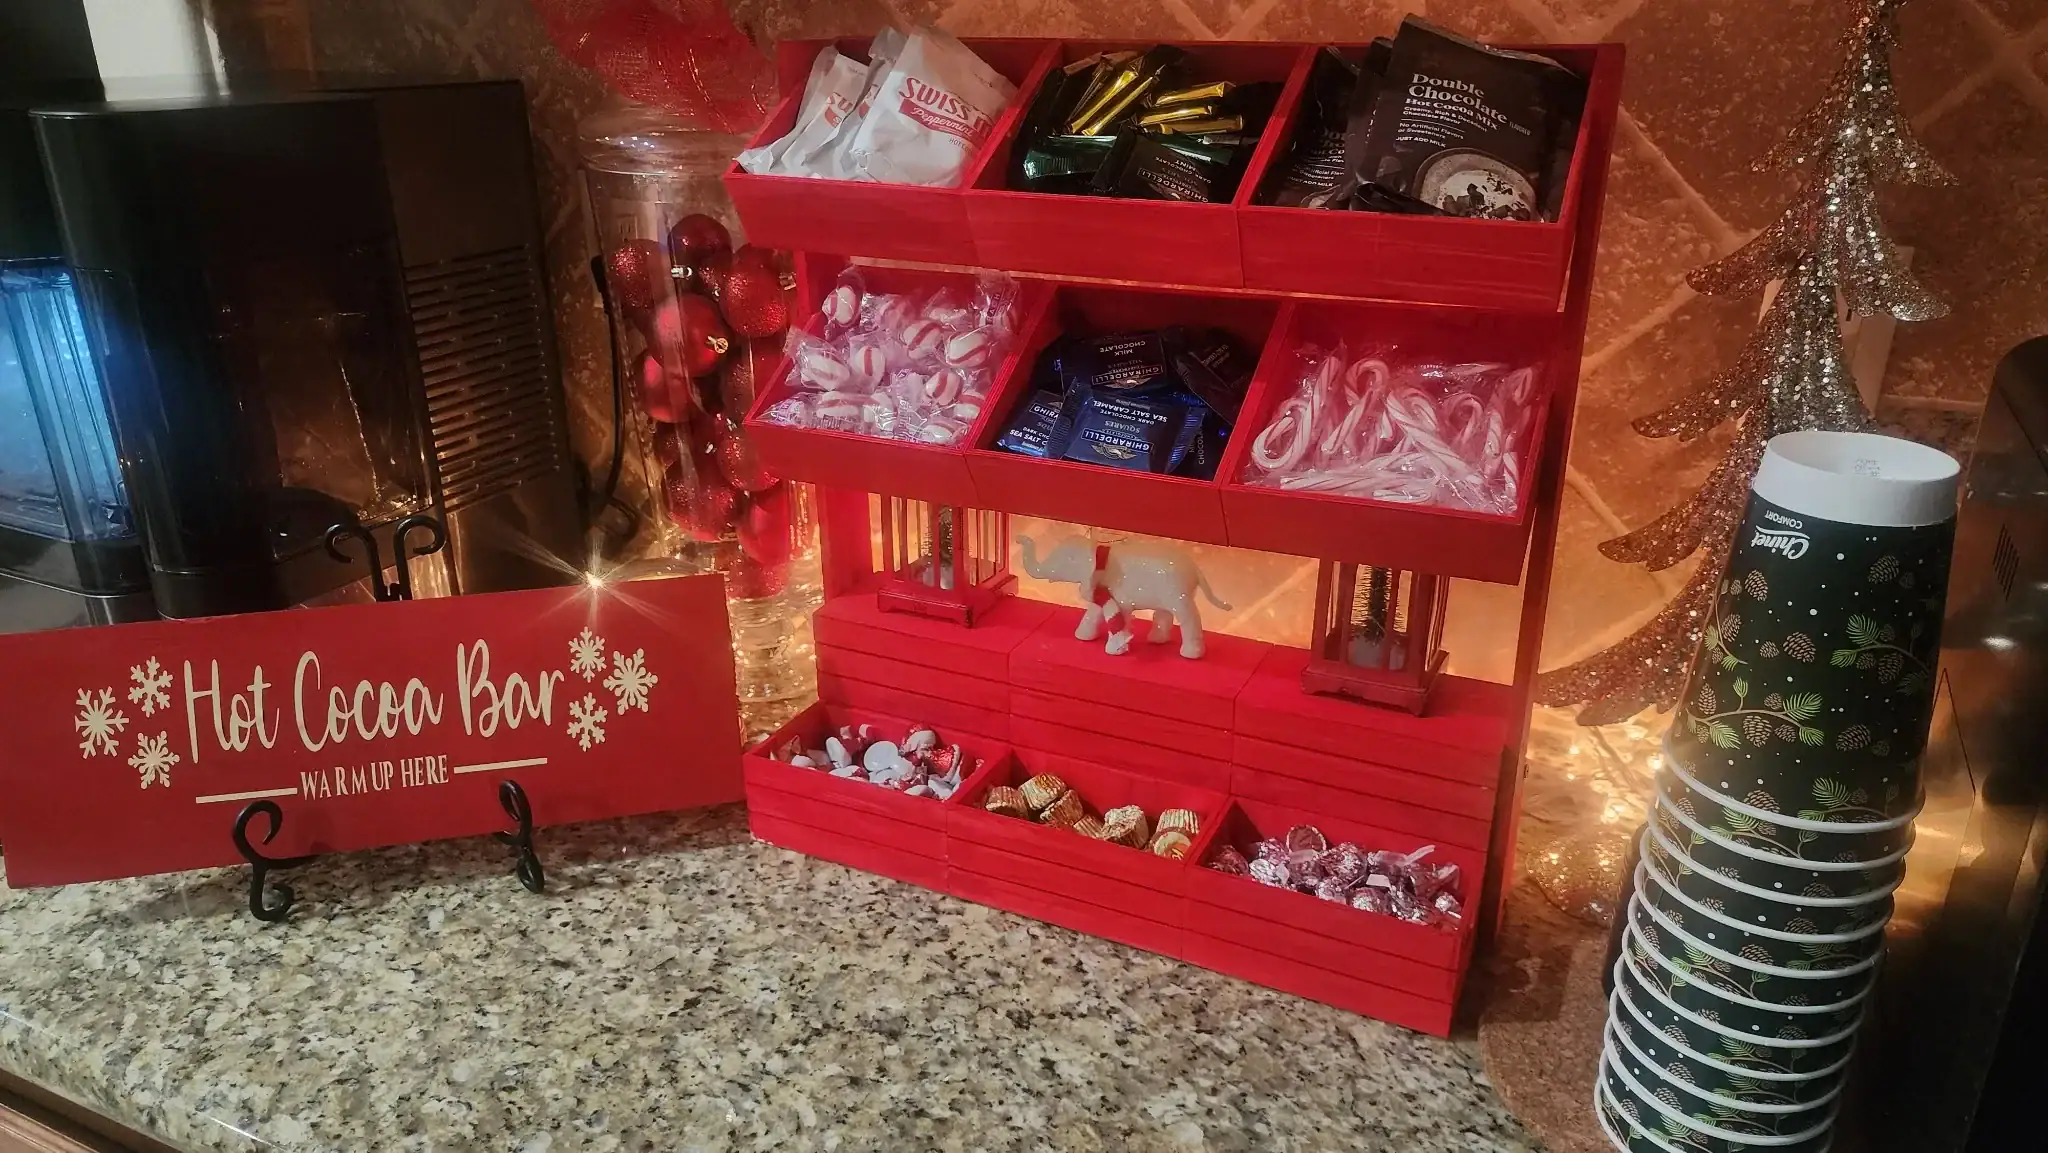
How I Built a DIY Wooden Hot Cocoa Bar Using Dollar Tree Supplies
I love decorating for Christmas and I always wanted to create an inviting Hot Cocoa Bar. I spotted a very cute one on instagram and I told myself I must recreate it. The best part about this cocoa bar is it’s I made it and it is so affordable.Instead of just buying a sign or stand, I made a wooden hot cocoa bar using simple materials I picked up from Dollar Tree: wood pieces, glue, and paint.
This little bar is perfect for:
- Christmas/Holiday hot cocoa stations
- Coffee/hot chocolate corners
- Kids’ parties or movie nights
- Displaying mugs, toppings, or decor
If you’re looking for a rich, creamy homemade Hot Cocoa, try my Homemade Hot Chocolate Recipe.

In this post, I will walk you through how I made my hot cocoa bar and then share ideas for decorating and accessorizing it.
This post is not sponsored by or affiliated with Dollar Tree. I just love finding budget-friendly supplies and turning them into something cute and functional.
Supplies I Used (All from Dollar Tree)
You can adapt this project to whatever your local store has in stock, but here’s a general list of what I used or recommend looking for.
Wood, Tools & Structure
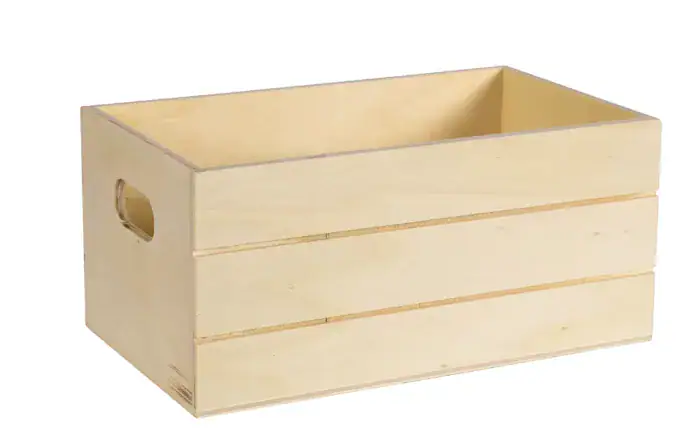
- Crafters Square Rectangular Wooden Crate with Handles (for the base/stand)
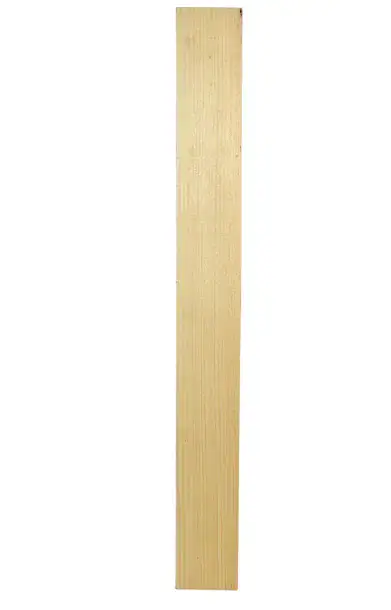
- 2- Crafters Square Craft Wood Planks, 2×16 in.
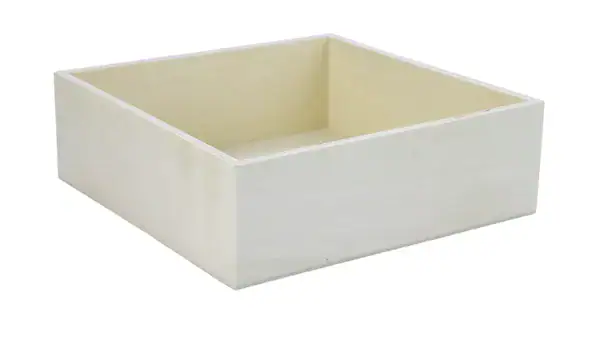
- 9- Crafters Square Assorted Wood Box, 1 ct. (I used the largest of the 3)
- Screwdriver and Wood Screws (for extra support)
Tip: Dollar Tree often has pre-cut wood pieces in the craft aisle—small signs, planks, crates, and trays. You don’t need power tools for this project if you choose pieces that already fit your design.
Adhesive
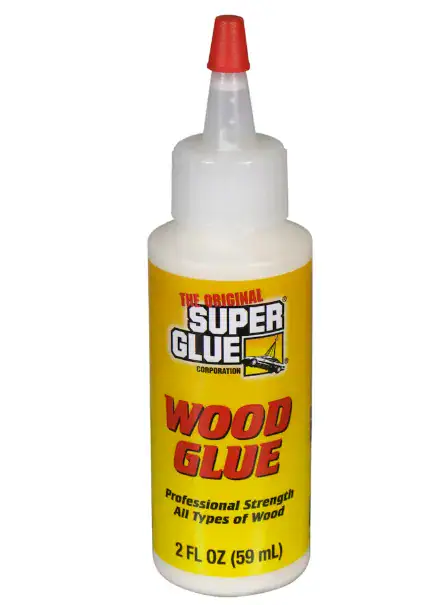
- 1 – Super Glue The Original Corporation Wood Glue, 2-fl-oz.
- Or a hot glue gun and glue sticks (low-temp is fine for this type of project)
Paint & Brushes
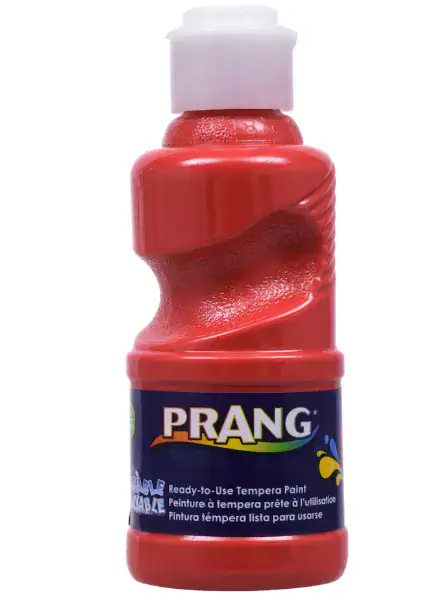
- 1-2 bottles of Prang Tempera Red Paints, 8 oz.
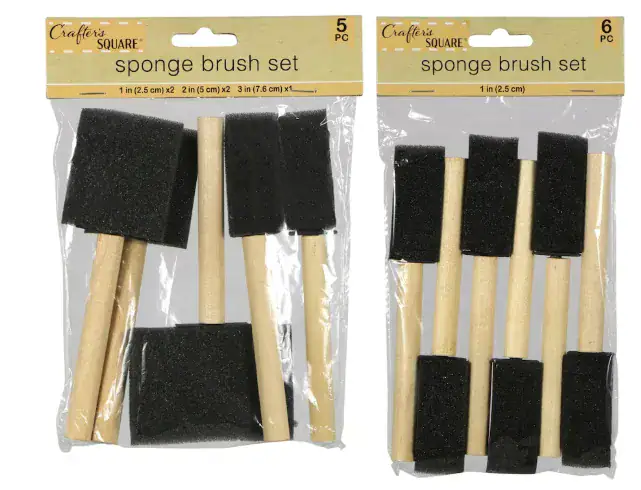
- Crafters Square Sponge Paint Brush Sets or small paintbrushes
- Optional: clear sealer or Mod Podge for protection
Sign Lettering & Details
- For the sign I found a slightly larger piece of wood and painted it in the same red as the Hot Cocoa Bar. I used my Cricut for the letters and decorative pattern, but feel free to create a sign that is uniquely your design. Have fun with Stencils or decorative stickers you can find at the Dollar Tree.
Optional Extras
- Ribbon, twine, or mini garland (for decorating the finished bar)
Watch the Video
Step 1: Plan Your Hot Cocoa Bar Design
Before gluing anything, I laid my wood pieces out on a table and played around with different layouts. I loved the design I saw on instagram made by Bargain Bethany so I decided to stick with it. I knew it would fit perfectly with my current Christmas decor.
A Simple Layout Idea
This design has four main parts:
- Base – A sturdy bottom made from the 6 rectangular wooden crates (in a double row of 3 crates)
- Bottom Shelf – 3 rectangular wooden crates to store goodies.
- 2 Top Shelves – Square wooden slats in 2 rows of 3’s that serve as more storage.
- Side Panel – A the wooden slats that serve as the anchor that holds all the parts together.
You can adjust this based on what your store has, but the idea is to build a small, sturdy structure that can sit on a counter and hold a few light items.
Step 2: Assemble Your Hot Cocoa Bar
Once I decided on the layout, I started building.
- Position the crates
Place your wooden crates side by side on a flat surface. Make sure they are aligned evenly. - Glue the crates together
Apply wood glue (or hot glue) along the sides where the crates touch and press them firmly together.
Hold them in place for a few minutes, or use something heavy (like books) or a clip to gently press them while they dry. - Add support blocks (optional)
If you’re using wooden cubes or blocks, glue a few underneath as “feet” or along the back for extra stability.

Step 3: Paint the Hot Cocoa Bar
Base Coat
- Choose a main color for your bar. Popular choices:
- White for a farmhouse look
- Brown or tan for a wood-stain style
- Red for a festive holiday feel
- Black for a modern chalkboard vibe
- Using your foam brush, have fun painting your bar.
- Let it dry completely, then add a second coat if needed or as you can see I went with a little bit of a distressed look for my bar.

Step 4: Add “Hot Cocoa Bar” Lettering
This is what gives the bar its personality and please be as creative as possible. There are several ways to add the words:
Freehand with Paint Pen
- Use a white or contrasting paint pen to carefully write “Hot Cocoa Bar” on the back panel.
- You can sketch the lettering lightly in pencil first and then trace over it.
Stencils
- Use letter stencils to spell out “Hot Cocoa Bar.”
- Tape the stencil in place and dab paint gently with a small brush or sponge.
Stickers or Transfers
- Apply alphabet stickers or rub-on letters to spell out your wording.
- Once they’re secure, you can lightly seal over them with Mod Podge if desired.
You can also add extra details like:
- Little coffee cups, marshmallows, or snowflakes
- Small flourishes, lines, or dots around the words
Step 5: Seal the Wood (Optional)
If you plan to use this bar every year or store it away between seasons, you may want to protect it.
- Use a clear sealer or Mod Podge over the painted areas.
- Allow it to dry completely before decorating or placing items on it.
How to Decorate and Accessorize Your Hot Cocoa Bar
Once your wooden bar is built and painted, it becomes a blank canvas you can decorate and style in any number of ways. Here are some ideas to help you dress it up for different occasions.
1. Classic Holiday Cocoa Bar
For a traditional holiday look:
- Add mini jars (they can sit on the base or in front of the bar) filled with:
- Mini marshmallows
- Chocolate chips
- Crushed candy canes
- Sprinkles
- Hang a small mini wreath or ribbon on one corner of the bar.
- Drape a tiny garland or faux greenery across the top edge.
- Place one or two festive mugs in front of the bar to tie the theme together.
2. Neutral Farmhouse Style
If you like a more subtle look that can stay out all winter:
- Paint the bar in white, cream, or soft gray.
- Use clear glass jars and simple white mugs.
- Add natural textures like:
- A piece of burlap or a neutral cloth under the bar
- Twine bows on the jars
- A small wooden bead garland draped across the front
This style works beyond Christmas and looks cozy all season long.
3. Kids’ Hot Chocolate Station
Turn your bar into a kid-friendly hot cocoa station:
- Use bright colors or fun lettering (you can even add kids’ names on mini tags).
- Fill jars with:
- Colorful marshmallows
- Candy pieces
- Fun straws
- Mini cookies or wafer sticks
- Add a little chalkboard sign nearby with instructions like:
“1. Pour cocoa 2. Add toppings 3. Enjoy!”
4. Valentine’s Hot Cocoa Bar
After the holidays, you can easily “re-theme” your bar:
- Add pink, red, and white accents.
- Fill jars with heart-shaped sprinkles, pink marshmallows, or chocolate hearts.
- Tie small red or pink ribbons around the jars and mugs.
- Add a tiny sign or sticker that says “Love is Brewing” or “Sweetheart Cocoa.”
5. Everyday Coffee & Cocoa Corner
You don’t have to pack the bar away once winter ends. Turn it into an everyday drink station:
- Keep “Hot Cocoa Bar” as your main sign (it’s still cute year-round).
- Use the base to hold:
- Coffee pods or ground coffee
- Sugar and creamer in jars
- A few favorite mugs
- Add a small plant or simple decor piece to keep it looking neat but not overly seasonal.
Accessory Ideas to Pair With Your Wooden Bar
Here are a few simple accessories (also often found at Dollar Tree or similar stores) that work beautifully with your DIY bar:
- Mini chalkboard signs – To label toppings or write fun messages.
- Fairy lights – Battery-operated lights can be wrapped around the bar or placed behind it for a warm glow.
- Paper straws – Add a pop of color and look great in photos.
- Mini scoops or spoons – For the jars of toppings.
- Small trays or coasters – To hold mugs, spoons, or a small pitcher.
Final Thoughts
Building a DIY wooden hot cocoa bar from Dollar Tree supplies was so much fun and it truly put me in the holiday spirit. I was so proud that I did it and everyone loves it. This is a great project that can be done with kids of all ages. Don’t be afraid to give it a try and if so send me a picture. I would love to see it!