The Best Garlic Butter Wings (Crispy Baked, No Frying!)
Last Updated on June 11, 2026 by Barbara
By Barbara | Soul Food Cooking | SoulFoodCooking101.com
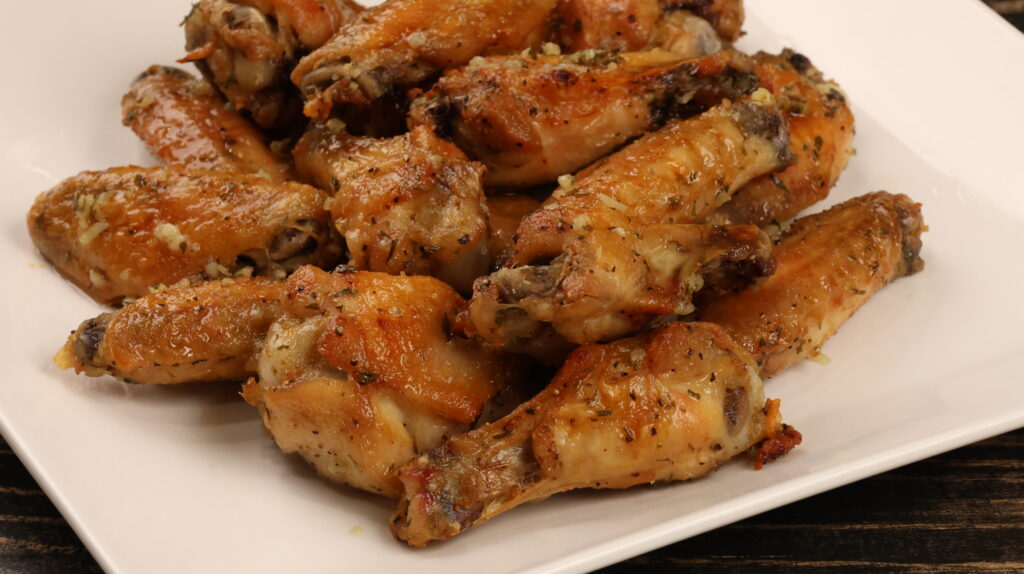
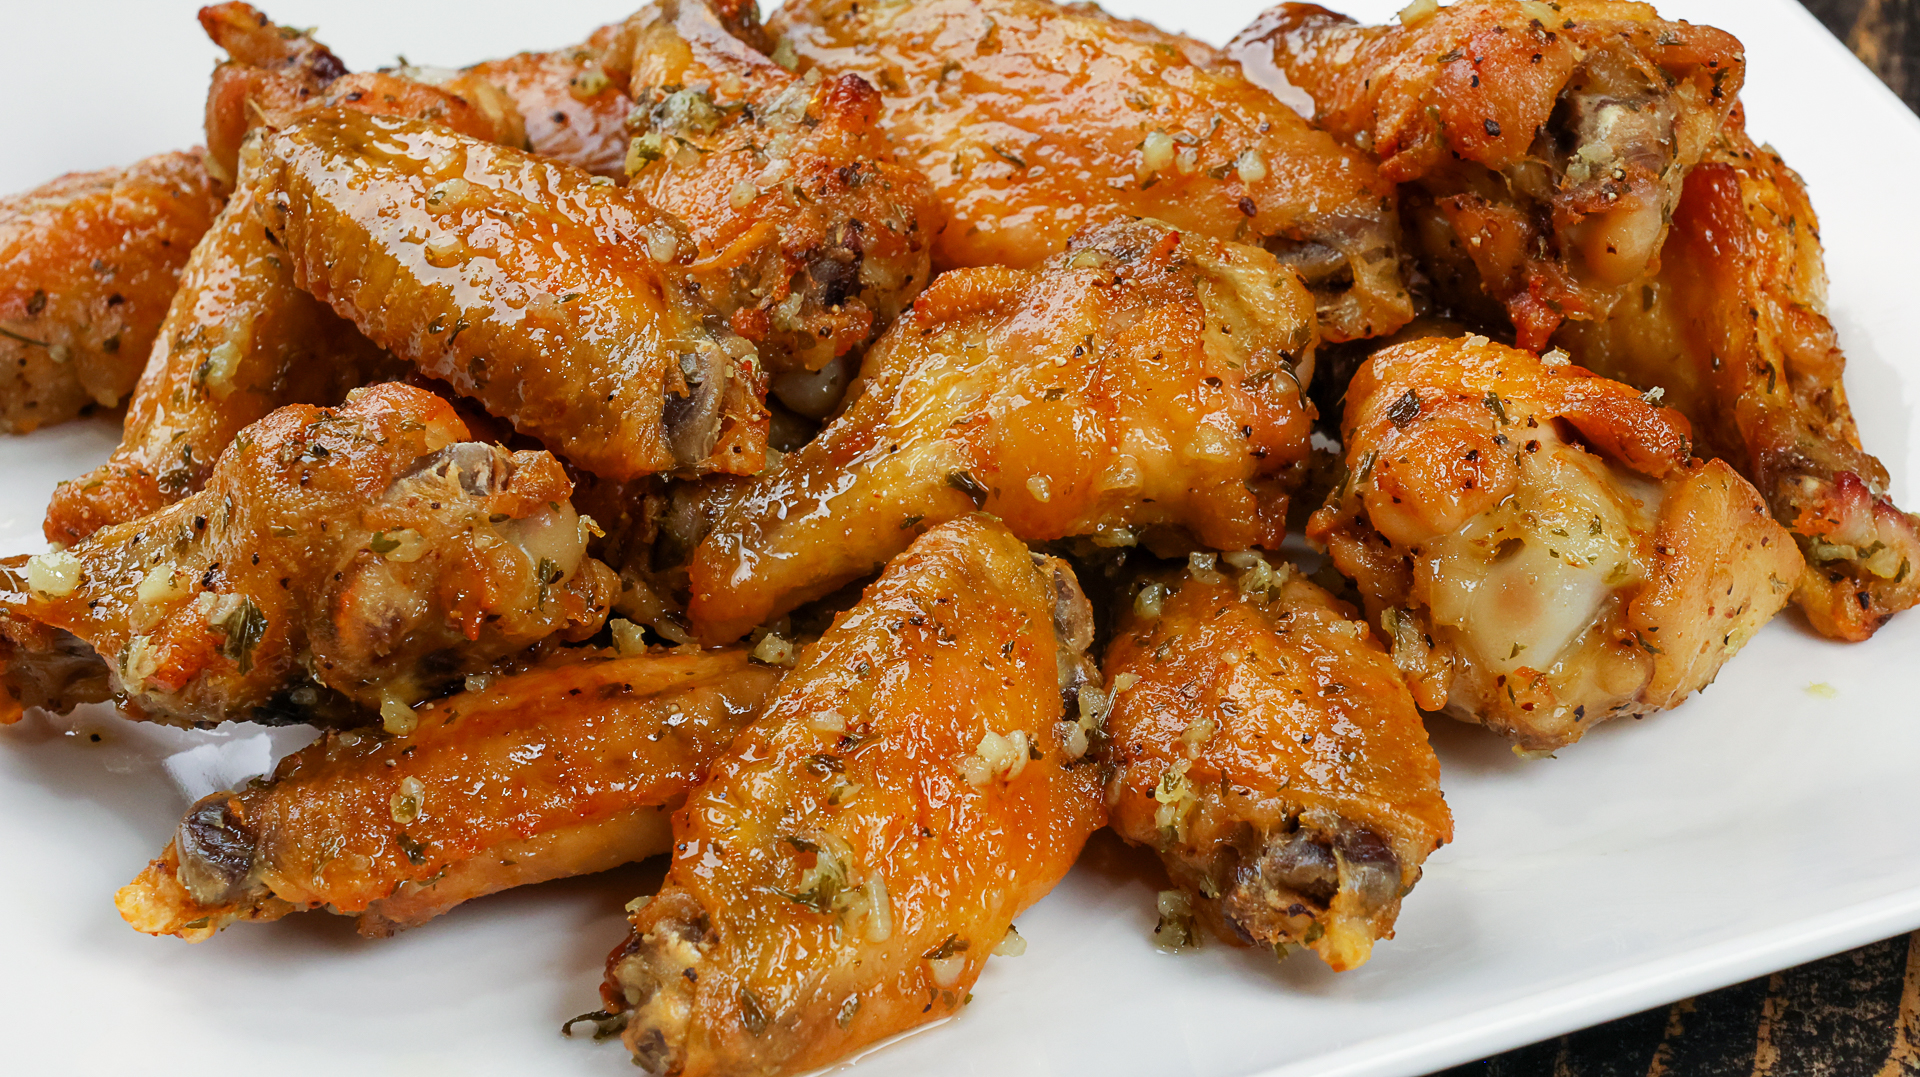
Pull a tray of garlic butter wings out of the oven and watch how fast everybody finds a reason to wander into the kitchen. The skin crackles when you pick one up, the inside stays tender and juicy, and the smell of fresh garlic and parsley hits you before you take a bite. These wings crisp up in the oven, so you don’t have to stand over a pot of hot oil to get there.
What makes these different is the warm garlic butter sauce we spoon over them at the end. The wings bake up crisp on a wire rack, then they get tossed in real melted butter cooked down with fresh garlic and parsley. You get the crunch and the rich garlic flavor in every single bite, and you’ll want to make a double batch before the first one is gone.
This Post May Contain Affiliate Links
Recipe Overview
- Prep: 10 min
- Cook: 45 min
- Total: 55 min
- Servings: 4
- Cuisine: Southern
- Course: Appetizer or Main
Why You’ll Love This Recipe
These wings come out tender on the inside and crispy on the outside without any frying, because baking them on a wire rack lets the heat reach every side at once. The garlic flavor is fresh and bold since we cook real minced garlic down in butter instead of reaching for garlic powder. They’re simple enough for a weeknight with only a handful of ingredients, but they look and taste like something you’d order out. And because the sauce goes on after baking, the wings stay crisp instead of turning soft under the butter. If you love wings as much as I do, you can switch up the flavors next time with my Garlic Parmesan Wings, Crispy Buffalo Wings, and Baked Honey BBQ Wings.
Ingredients
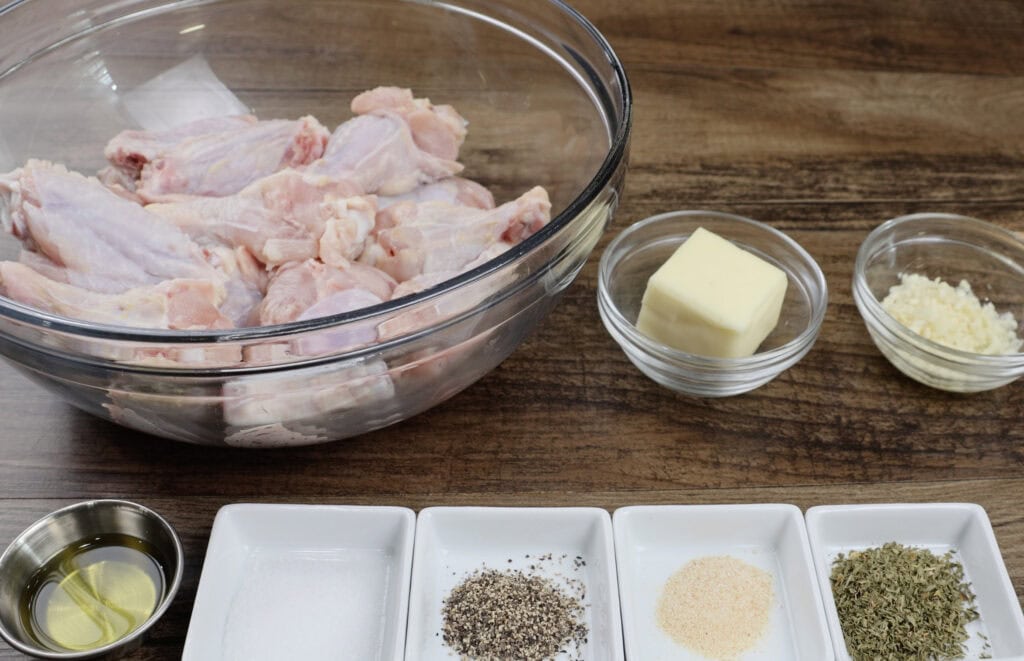
A complete list of ingredients with measurement can be found in the recipe card below.
For the Wings:
- chicken wings
- olive oil
- salt
- black pepper
- onion powder
For the Garlic Butter Sauce:
- butter
- garlic, minced
- dried parsley
Tools You Will Need
Watch the Video
How to Make the Best Garlic Butter Wings
Step 1: Preheat the Oven
Start by preheating your oven to 400 degrees. You want it fully heated before the wings go in so they start crisping up right away. Getting the oven ready first means your wings won’t sit around waiting once they’re seasoned.
Step 2: Clean and Dry the Wings
Make sure you have cleaned and dried your wings. This step matters more than folks think. Dry wings crisp up, wet wings steam, so pat them down well with a paper towel before you season them.
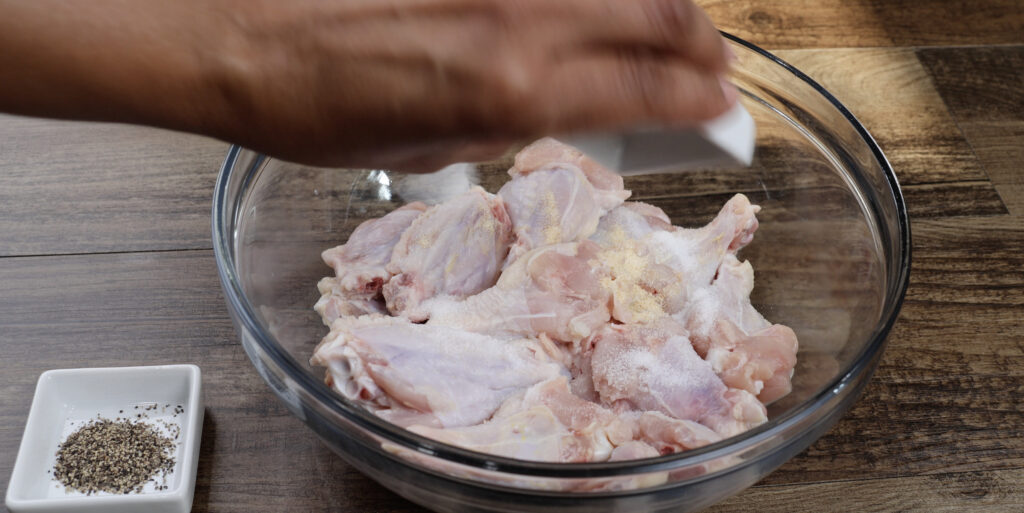
Step 3: Season the Wings
Now season the wings with the onion powder, salt, and black pepper. Sprinkle it over evenly so every piece gets that good flavor all the way through, not just on top.
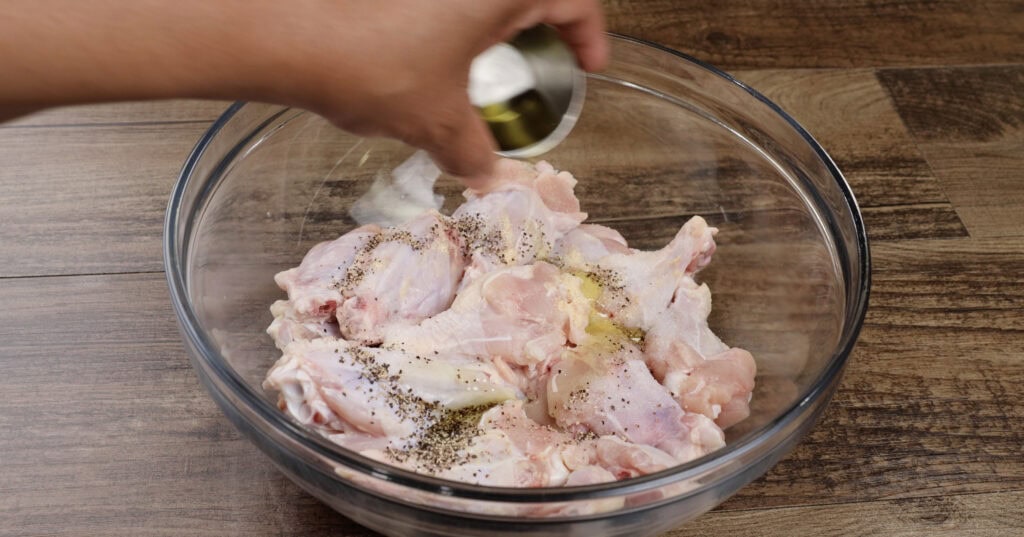
Step 4: Add the Olive Oil and Coat
Pour in the olive oil and mix until each piece has been evenly coated. The oil helps the seasoning stick and gives the skin a head start on getting crispy. Take your time here and make sure every wing is covered.
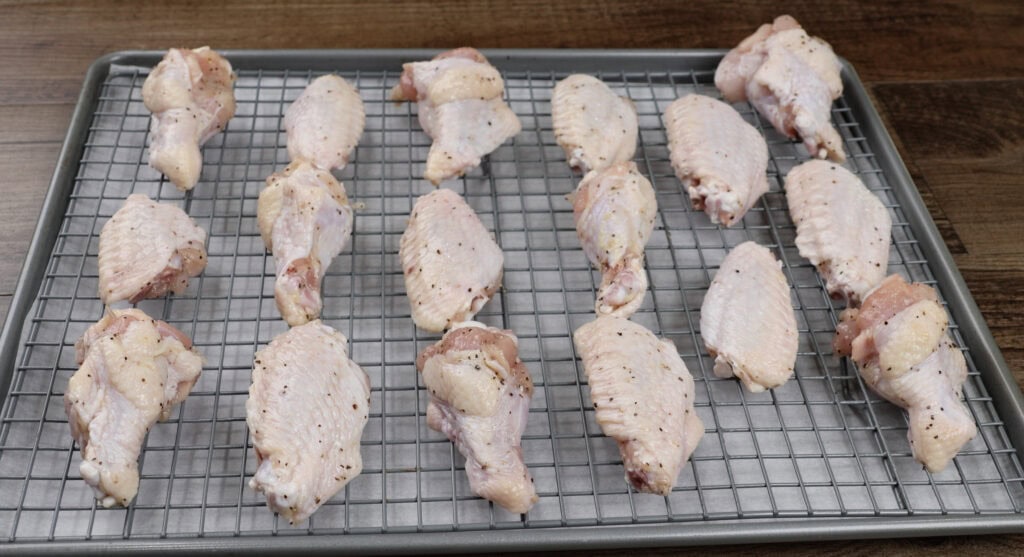
Step 5: Arrange on a Wire Rack
Place your wings on a wire rack set over a baking sheet. The rack lets the hot air move all the way around each wing, so the bottoms crisp up just like the tops. Give them a little space so they’re not touching.
Step 6: Bake the Wings
Transfer the rack to your oven that’s been preheated to 400 degrees and allow your wings to cook for 45 minutes. You’ll know they’re ready when the skin is golden and crisp. Don’t rush them, that full 45 minutes is what gives you the crunch.
Step 7: Remove and Set Aside
After 45 minutes, remove your wings from the oven and set them aside while you make the sauce. Letting them rest for a couple of minutes keeps them crisp and gives you time to get the garlic butter going.
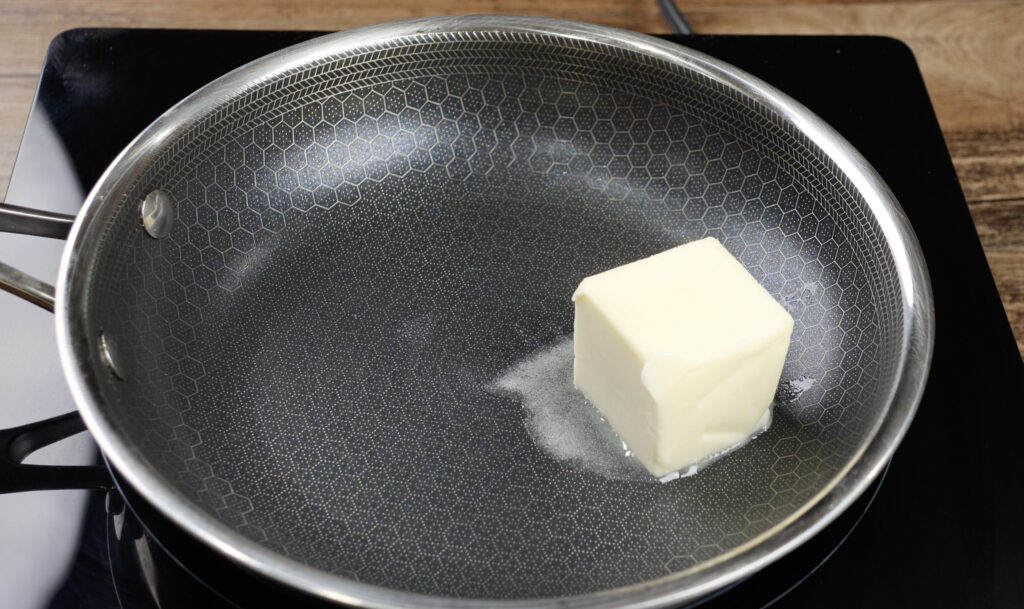
Step 8: Melt the Butter
Using medium heat, bring a small pan to temperature, then melt your butter. Keep the heat steady so the butter melts smooth without browning too fast.
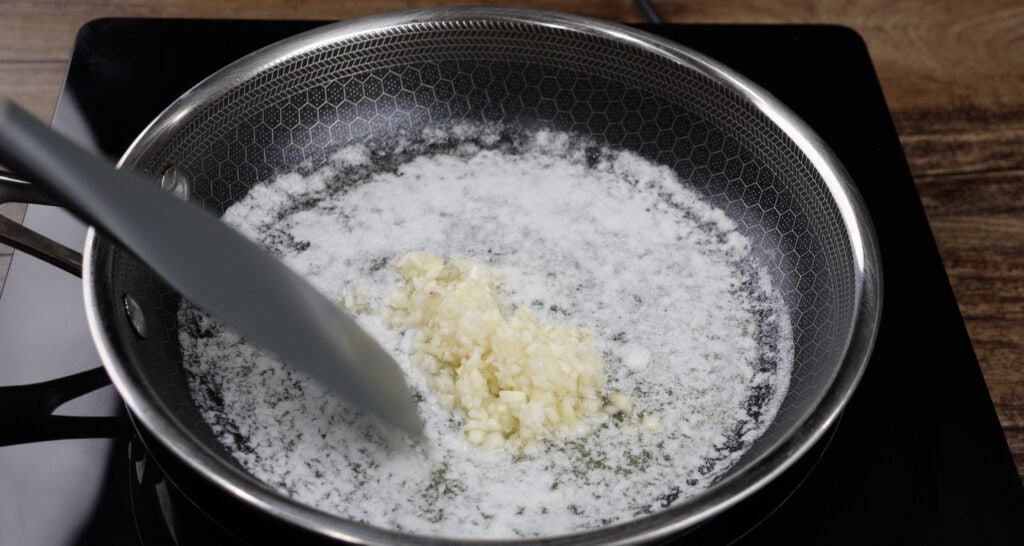
Step 9: Cook the Garlic
Add your garlic and allow it to cook for 2 minutes. This is where the whole kitchen starts to smell amazing. Stir it so the garlic cooks evenly and turns soft and fragrant without burning.
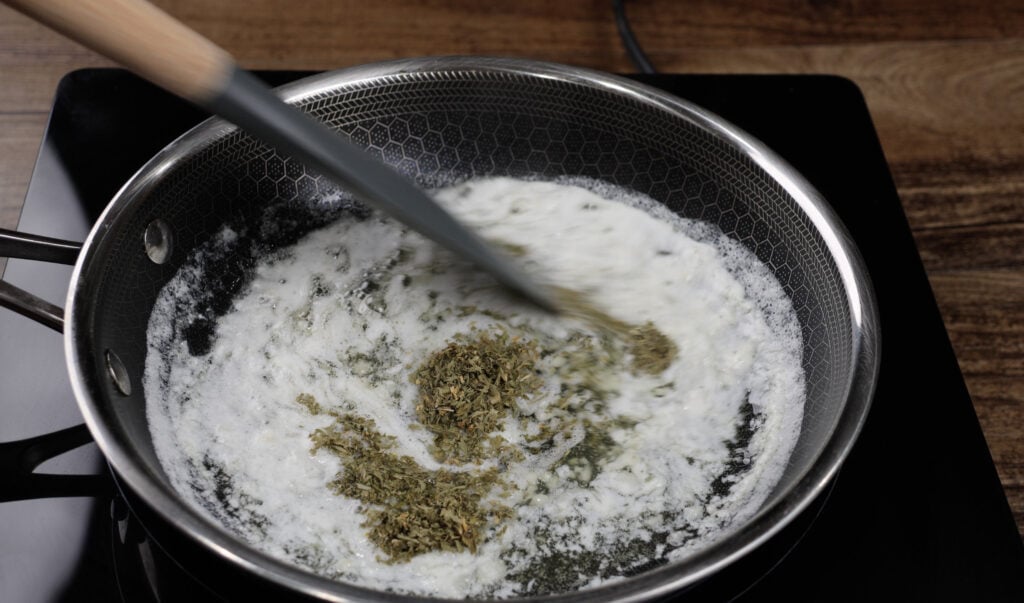
Step 10: Add the Parsley
Add your parsley flakes and continue to cook for an additional minute. The parsley rounds out the sauce and gives it that fresh, herby finish. One more minute is all it needs.
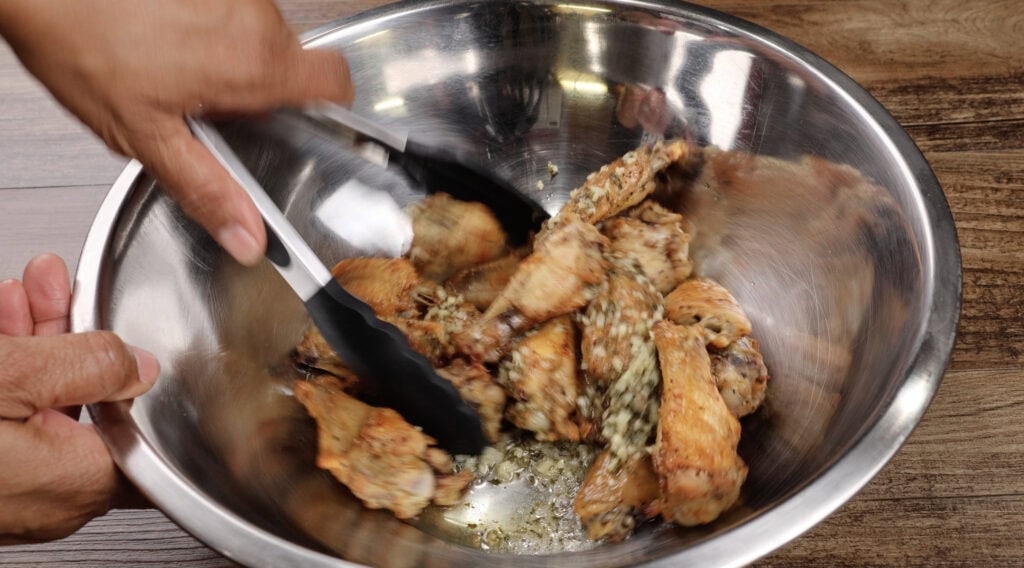
Step 11: Toss the Wings in the Sauce
Place your wings in a bowl, then cover with your garlic butter sauce. Now toss your wings to coat every piece. You want all that garlic butter clinging to the crispy skin, so keep tossing until they’re glistening and well covered.
What to Serve With Garlic Butter Wings
These wings are right at home next to a big bowl of creamy macaroni and cheese or some buttery cornbread. For something lighter, set them beside a crisp green salad or a plate of celery and carrot sticks with ranch. They also make a great game day spread with a side of seasoned fries or a scoop of potato salad. If you’re serving them as a main, a bowl of chicken fried rice or a side of collard greens rounds out the plate nicely.
How to Store and Reheat Leftovers
How to Store
Let the wings cool completely, then store them in an airtight container in the refrigerator for up to 4 days. Keep any extra sauce in a separate small container so the wings don’t get soggy sitting in it.
HOW TO REHEAT
For the best results, reheat your wings in a 375 degree oven or air fryer for about 10 minutes until they’re hot and crispy again. Skip the microwave if you can, because it’ll make the skin soft and rubbery instead of crisp. Warm any leftover garlic butter sauce on the stove and toss the wings again right before serving.
Pro Tip
Drying your wings thoroughly is the single biggest thing you can do for crispy skin, so don’t skip the paper towel. Always bake on a wire rack instead of flat on the pan so the air can reach every side. Use fresh minced garlic for the sauce rather than the jarred or powdered kind, since fresh garlic gives you that bold flavor that makes these wings special. Add the sauce only after the wings come out of the oven so they stay crisp, and toss them right before you serve so everyone gets them warm and buttery.
FAQS
Can I make these wings in an air fryer?
Yes, you can. Air fry them at 400 degrees for about 20 to 25 minutes, shaking the basket halfway through, then toss them in the garlic butter sauce just like the oven version. If you want a plain crispy base to start from, my Air Fryer Chicken Wings and Air Fryer Lemon Pepper Wings walk you through the timing.
Do I have to use a wire rack?
A wire rack gives you the crispiest results because it lets air circulate all the way around. If you don’t have one, you can bake the wings right on the pan, but flip them halfway through so both sides crisp up.
Can I use fresh parsley instead of dried?
You can. Fresh parsley works great stirred into the butter, just use about three times as much since fresh herbs are milder than dried. Add it at the end so it stays bright.
Why are my wings not getting crispy?
The most common reason is wings that weren’t dried well before seasoning. Moisture creates steam in the oven and keeps the skin soft. Pat them dry, give them room on the rack, and make sure your oven is fully preheated.
Can I add more garlic?
Absolutely. If you love garlic, go ahead and add another clove or two to the butter. Just keep the heat at medium and stir so it softens without burning.
Garlic Butter Wings
Ingredients
- 2 lbs chicken wings
- 1 tbsp olive oil
- 1 tsp salt
- 1 tsp black pepper
- 1/2 tsp onion powder
- 4 tbsp butter
- 5 cloves garlic minced
- 1 tbsp dried parsley
Method
- Preheat your oven to 400 degrees.
- Clean and dry the chicken wings well.
- Season the wings with the onion powder, salt, and black pepper.
- Pour in the olive oil and mix until each piece is evenly coated.
- Place the wings on a wire rack set over a baking sheet.
- Bake at 400 degrees for 45 minutes until crispy.
- Remove the wings from the oven and set aside.
- In a small pan over medium heat, melt the butter.
- Add the minced garlic and cook for 2 minutes.
- Add the dried parsley and cook for 1 more minute.
- Place the wings in a bowl, cover with the garlic butter sauce, and toss to coat.
Nutrition
Video
Tried this recipe?
Let us know how it was!JOIN THE #SFCFAMILY!
If you made these Garlic Butter Wings, I want to hear from you! Drop a comment below and let me know how they turned out. Did you add your own twist? Did your family go crazy for them? I read every single comment and I love hearing from my #SFCFamily.
Don’t forget to LIKE this video, SUBSCRIBE to the Soul Food Cooking channel, and hit that notification bell so you never miss a new recipe. Share this recipe with someone you love because good food is always better when it’s shared!
Find more delicious Southern recipes at SoulFoodCooking101.com and follow me on social media for daily cooking inspiration. Until next time, remember to cook with love, eat with joy, and always season your food!
Barbara